Landscape Light Installation Can Be Fun For Anyone
Wiki Article
All about Landscape Light Installation
Table of ContentsExcitement About Landscape Light InstallationThe Only Guide to Landscape Light InstallationThe Only Guide for Landscape Light InstallationNot known Details About Landscape Light Installation The Main Principles Of Landscape Light Installation The Of Landscape Light Installation
Without any kind of major electrical experience I went on the quest for simple to install reduced voltage landscape lights. Low voltage landscape lights are powered through a transformer, that attaches to the wire, that decreases the voltage from normal 120 volts to 12 volts.30 mins was all it took to offer our cottage a wonderful glow at night.
I probably might have gotten by with less lights yet the 4 light set was the tiniest one available. After I narrowed down my options I looked for lights that had wonderful evaluations.
The concept was to put three on either side of the front veranda. I figured that that would certainly suffice. As soon as I got them and laid the lights out I knew the 3 and 3 configuration wouldn't work. Despite the fact that I got a lot of wire with the collection, I would certainly have needed to dig under the pathway in order to conceal the wire.
Facts About Landscape Light Installation Revealed
 Remember, I desired this to be very easy with no digging and no rewiring. While I identified a solution I simply mounted all 6 by the guest bedroom to see how they would look. A quick word of care. Although we are just plugging in lights it is very important to be safe and use care when collaborating with electrical energy.
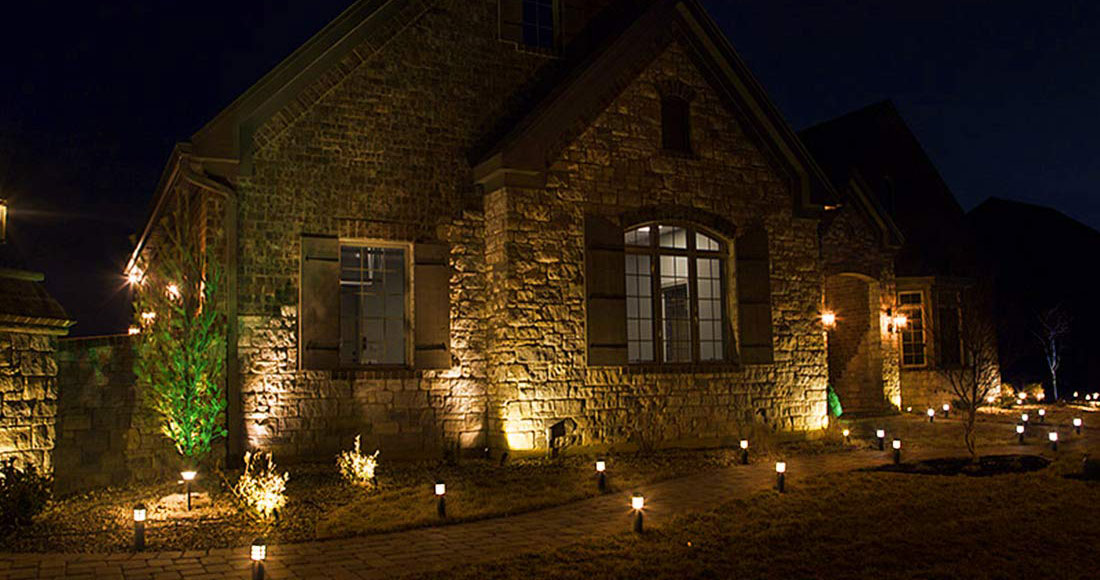
Once the cords were buried I plugged the spotlights right into my exterior extension cable, that is connected in to an outlet on the residence. To make points even simpler I likewise utilized a timer. Currently the landscape lights activate and off instantly at established times each evening. When the sun collection and my lights activated I went outdoors and adjusted them to strike the front of your home.
Like I stated, the tiniest collection I could get was 4 lights so that's what I ordered. Once they arrived I mounted them following the same steps as the initial set of lights. Really, an extremely straightforward means to include a beautiful glow to your home. I need to have done it 5 years ago.
The smart Trick of Landscape Light Installation That Nobody is Talking About
He wouldn't confess that I was ideal butI was (Landscape Light Installation).# Get More Info 10 scale exterior cord # 12 gauge outdoor cable 1-1/2 in. PVC pipeline 1-1/2-in. PVC cap with -in.
Mount lights where they will not be quickly harmed by plows or shovels. Bear in mind, too, that the plants you brighten will certainly go with seasonal changes. Not all plants should be evergreens, some plants such as hydrangea, dogwoods and sumac are appealing lit up also when leafless. Once you have your products, your tools and your plan, it's time to call 811.
It's a totally free solution and you'll stay clear of dangerous and costly shocks. Usage 10-gauge wire for the main lines from the transformer to where the lights start, after that switch to 12-gauge wire between the lights. To hide the wires where they go across the grass, use a flat-nosed shovel to cut a port and fold back the sod.
The 8-Minute Rule for Landscape Light Installation
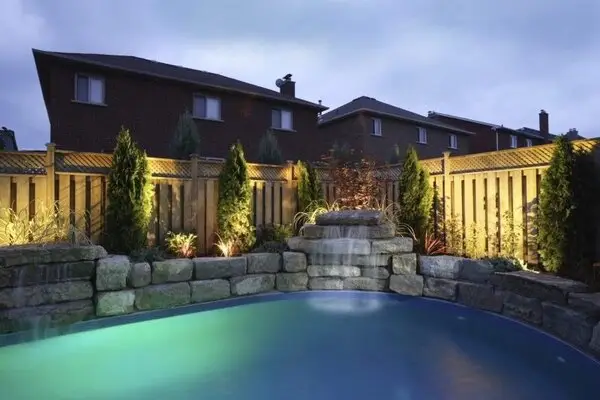
Using the PVC pipeline, construct and hide a footer that will certainly house the cable links and support your post expansions (suggested to be made from 1/2- inch copper pipeline). Attach the wires with weatherproof cable connectors. These cord adapters have a guard on the base and a ball of sealant inside that make them weatherproof.
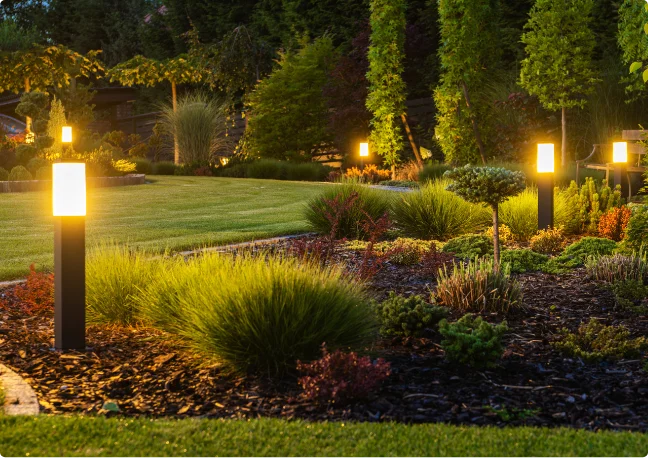
If you're not certain where to begin with landscape i thought about this design lights, you're in the right location! Here is our useful outdoor lights guide, where we will stroll through where to put landscape illumination, what types of lights to use, and exactly how to make use of light for the ideal result.
The Buzz on Landscape Light Installation
It's a cost-free service and you'll avoid hazardous and expensive shocks. Usage 10-gauge wire for the primary lines from the transformer to where the lights begin, then switch over to 12-gauge cord in between the lights. To bury the cables where they go across the grass, utilize a flat-nosed shovel to reduce a slot and layer back the sod.
Since the transformer will constantly be plugged in, you need to replace the typical outlet cover with an in-use weatherproof cover, available at many major home renovation facilities and equipment stores. The ground stakes that include a lot of vertical illumination components are not solid sufficient (or go deep enough) to maintain them good and straight in time with transforming soil conditions, erosion, and so on.
Using the PVC pipe, construct and bury a footer that will house the cable links and support your post expansions (advised to be constructed from 1/2- inch copper pipe). Link the cables with weatherproof cable ports. These wire connectors have a shield on the bottom and a blob of sealant inside that make them weatherproof.
The Greatest Guide To Landscape Light Installation
If you're not certain where to start with landscape design lights, you're in the ideal place! Here is our useful exterior illumination overview, where we will certainly stroll with where to position landscape lights, what kinds of lights to use, and just how to use light more for the best impact - Landscape Light Installation.Report this wiki page